Adding a Technical Attribute Template Task to the Work Plan
You can add a Technical Attribute Template as a linked activity to a task in the work plan, allowing users to record specific technical attributes for the associated Service Product. This allows service engineers to capture the actual condition and performance of the installed product, ensuring maintenance quality and compliance. Maintaining technical attributes helps predict potential downtime, analyze working conditions, and take corrective or preventive actions.
When linking a Technical Attribute Template to a task, select the appropriate template configured in your org that includes the relevant attributes for the Service Product. These attributes need be captured as part of the service delivered through the work plan.
|
|
In the Attribute Template tab, you can configure a Technical Attribute Template, adding specific attributes. For more information, see Creating a Technical Attribute Template.
|
To add a Technical Attribute Template to a task to the work plan:
1. From the Home page, go to the Work Plan Library.
The existing work plans are listed.
2. Click the work plan for which you want to add the Technical Attribute Template task.
3. Click Add Task.
The Add Task pop-up window is displayed.
4. On the top-right, click Linked Activity drop-down and select Technical Attribute Template.

The Select Technical Attribute Template is displayed.

5. Search for and select the Template and click Next.
|
|
• You can search by Template Name, Template Description, or Template Match, including Product Line, Product Family, and Product.
• The selected template will be assigned regardless of whether it matches the application criteria of the Installed Product.
|
6. In the Details tab, enter the details as described in the following table.
|
Fields
|
Description
|
||
|---|---|---|---|
|
Fields with * are mandatory.
|
|||
|
Task Name*
|
Enter a name for the task.
The Task Name is automatically updated based on the selected template name, with “Record” appended to it.
|
||
|
Status Options
|
Select the statuses the task can transition into.
Three status options — New, In Progress, and Complete — are selected by default.
|
||
|
Estimated Duration
|
Enter estimated time to complete the task.
|
||
|
Estimated Time Unit
|
Select the unit of time for the Estimated Duration field value from the dropdown list.
|
||
|
Mandatory Task
|
Select this checkbox if you want this task to be completed mandatorily as a part of the completion of work plan.
|
||
|
Create labor line on work order when status is changed to complete
|
Select this checkbox to generate labor lines based on the information captured in the service task. Labor lines are generated when the service engineer marks the task as complete. These labor lines are the Work Detail Lines of the type Labor, which include details about the service tasks and the time spent by technicians to complete them.
|
||
7. In the Instructions tab, add instructions that you want to provide to the service engineer executing the task. You can add photos, email addresses, bullets, numbered list, and so on.
8. In the Reference Files section, add any attachments for the task as required.
To add an attachment, click Upload Files and upload the file.
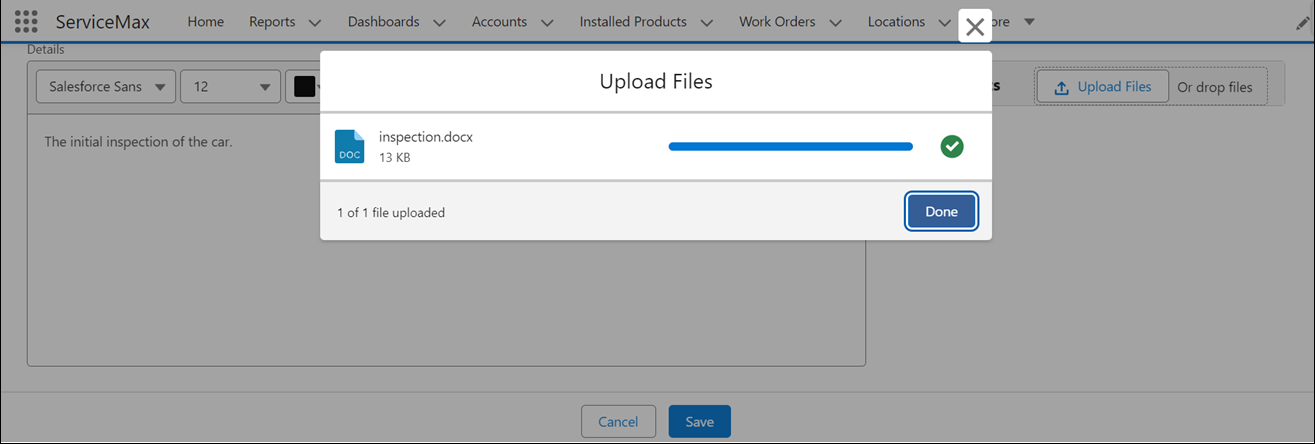
OR
Drop the file you want to attach in the Reference Files section.
|
|
• You can add multiple files. However, the total size of the attached files must not exceed 800 MB.
• All the supported file types with Salesforce are supported.
|
9. Click Save.
From the Work Order, you can go to the relevant Service Product and execute this task from the work plan to record technical attributes. For more information, see Executing Technical Attribute Tasks.
Related Topics